
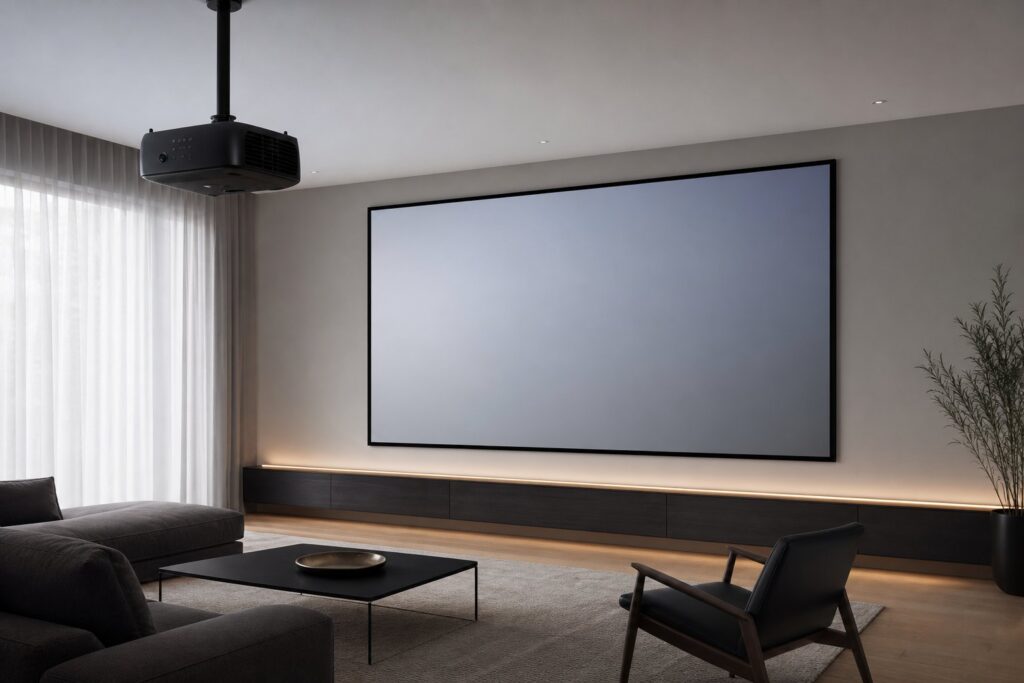
Ask ten people why their projector picture looks soft, crooked or simply smaller than expected, and nine of them will blame the projector. In most cases the real culprit is placement. Where the lens sits in relation to the screen decides your image size, your sharpness, your geometry — and whether you spend the next two years fighting the setup or forget about it entirely.
This guide walks through the three numbers that matter (throw ratio, throw distance, offset), the honest difference between lens shift and keystone correction, and how ceiling mounts compare with a simple shelf. We finish with ultra-short-throw projectors, which follow completely different rules.
Start With the Screen, Not the Projector
Placement planning always runs in this order: seating distance → screen size → projector position. If you pick the projector first, you end up bending the room around a box. Our guide on what size projection screen you need based on seating distance is the right starting point; once the diagonal is settled, the placement maths is straightforward.
One thing to internalise before touching a calculator: throw ratio is based on image width, not the diagonal. On a 16:9 screen the width is roughly 87% of the diagonal. Skipping that conversion is the single most common planning error.
Throw Ratio and Throw Distance: The Only Formula You Need
Throw ratio (TR) is the relationship between the lens-to-screen distance and the image width:
- Throw ratio = throw distance ÷ image width
- Throw distance = image width × throw ratio
- Maximum image width = throw distance ÷ throw ratio
Any of the three can be derived from the other two, so you can plan from the room you have or from the picture you want.
Worked example 1: how far back does the projector go?
You want a 100-inch 16:9 image. Width = 100 × 0.872 ≈ 87 inches ≈ 2.21 m. Your projector is specified at 1.5:1.
Throw distance = 2.21 m × 1.5 = 3.32 m. So the lens needs to sit about 3.3 metres from the screen surface — measured from the lens, not the back panel or the wall behind it.
Worked example 2: how big can I go in the room I already have?
Your ceiling mount position is fixed at 4.0 m from the wall, and the projector has a zoom range of 1.2–1.6:1.
- At 1.2:1 → 4.0 ÷ 1.2 = 3.33 m wide ≈ 151-inch diagonal
- At 1.6:1 → 4.0 ÷ 1.6 = 2.50 m wide ≈ 113-inch diagonal
Anything between roughly 113 and 151 inches works from that one position. That zoom range is your insurance policy, and it is worth paying for.
Worked example 3: the room that is too short
You want 120 inches (2.66 m wide) but you can only get 2.8 m away. Required TR = 2.8 ÷ 2.66 = 1.05. A standard 1.4–2.0:1 lens will not do it; you need a short-throw model, or you accept a smaller image, or you move to ultra-short-throw. No amount of digital correction changes this — throw ratio is optics, not software.
Don’t forget vertical offset
Throw distance places the projector along the room; offset places it vertically. Most home cinema projectors are designed to be either ceiling-mounted above the top edge of the image or table-mounted below the bottom edge, and the specification sheet expresses this as a percentage of image height. Ignore it and you will end up correcting geometry you never needed to break.
Lens Shift vs Keystone Correction
These two features solve superficially similar problems in completely different ways.
Lens shift physically moves the lens assembly relative to the imaging chip. The pixels are untouched, so nothing is scaled, cropped or softened. Vertical shift is more common than horizontal, and the two usually cannot be used at their maximum simultaneously.
Keystone correction is digital. The projector pre-distorts the image so that a projector aimed off-axis produces a rectangle on the wall. It works, but it does so by rescaling and cropping the source: you lose effective resolution and fine detail, and the loss grows with the amount of correction. This is why installers treat keystone as a field fix for a portable projector in a meeting room, not a design decision in a home cinema.
| Lens shift | Keystone correction | |
|---|---|---|
| Method | Optical — lens moves | Digital — pixels remapped |
| Effect on sharpness | None | Reduces detail; worse the more you use |
| Effect on brightness/uniformity | Slight edge softening at extremes | Unused panel area is wasted |
| Fixes off-centre height/width | Yes | Yes, with a quality cost |
| Fixes an angled projector | No | Yes |
| Best used for | Permanent installs | Portable, temporary setups |
The practical rule: aim the projector square at the screen, use lens shift for the remaining centring, and keep keystone at zero. If you are choosing hardware, generous lens shift is a more valuable feature than an impressive-sounding auto-keystone system. Our comparison of 4K laser and lamp projectors covers what else to weigh up at purchase time.
Ceiling Mount or Shelf?
Both are legitimate. The choice usually comes down to cable routing, room use and how much you value being able to nudge things later.
Ceiling mount
Cleanest result, projector out of the walkway, no chance of someone knocking it out of alignment, and fan noise moves away from ear level. The costs are real, though: you need power and HDMI in the ceiling, the mount must be adjustable in three axes, and every future change means a ladder. Long HDMI runs should be certified for the bandwidth you need — a marginal cable that works at 1080p can fail at 4K/120.
Shelf or rear cabinet
Cheap, reversible, easy to service, and ideal if you rent. Watch two things: the projector must sit at a height compatible with its offset (a table-mount projector on a high shelf will be aiming down at the screen), and the fan exhaust needs clear air. A closed cupboard is not a projector shelf. Small felt pads or a machined riser plate solve most fine-alignment problems.
Both cases
Once the projector is fixed, the screen is what you actually look at. A rigid fixed-frame screen such as the Sable Frame gives you a permanently flat surface and a defined rectangle to align to, which makes the alignment step far less fiddly than projecting onto a wall. If the room has daylight or light-coloured walls, look at the screen ranges intended for standard-throw projectors — those use ALR materials such as CineGrey, which are engineered for a projector sitting in front of the screen rather than beneath it. If you are unsure which material suits your room, our explainers on ALR, CLR and white screens and on choosing the right screen gain go deeper.
Transparency: Home Cinema Hub is operated by Elite Screens Europe. Products from Elite Screens are mentioned where they genuinely fit the topic; the technical advice above applies to any brand.
Ultra-Short-Throw: A Different Game
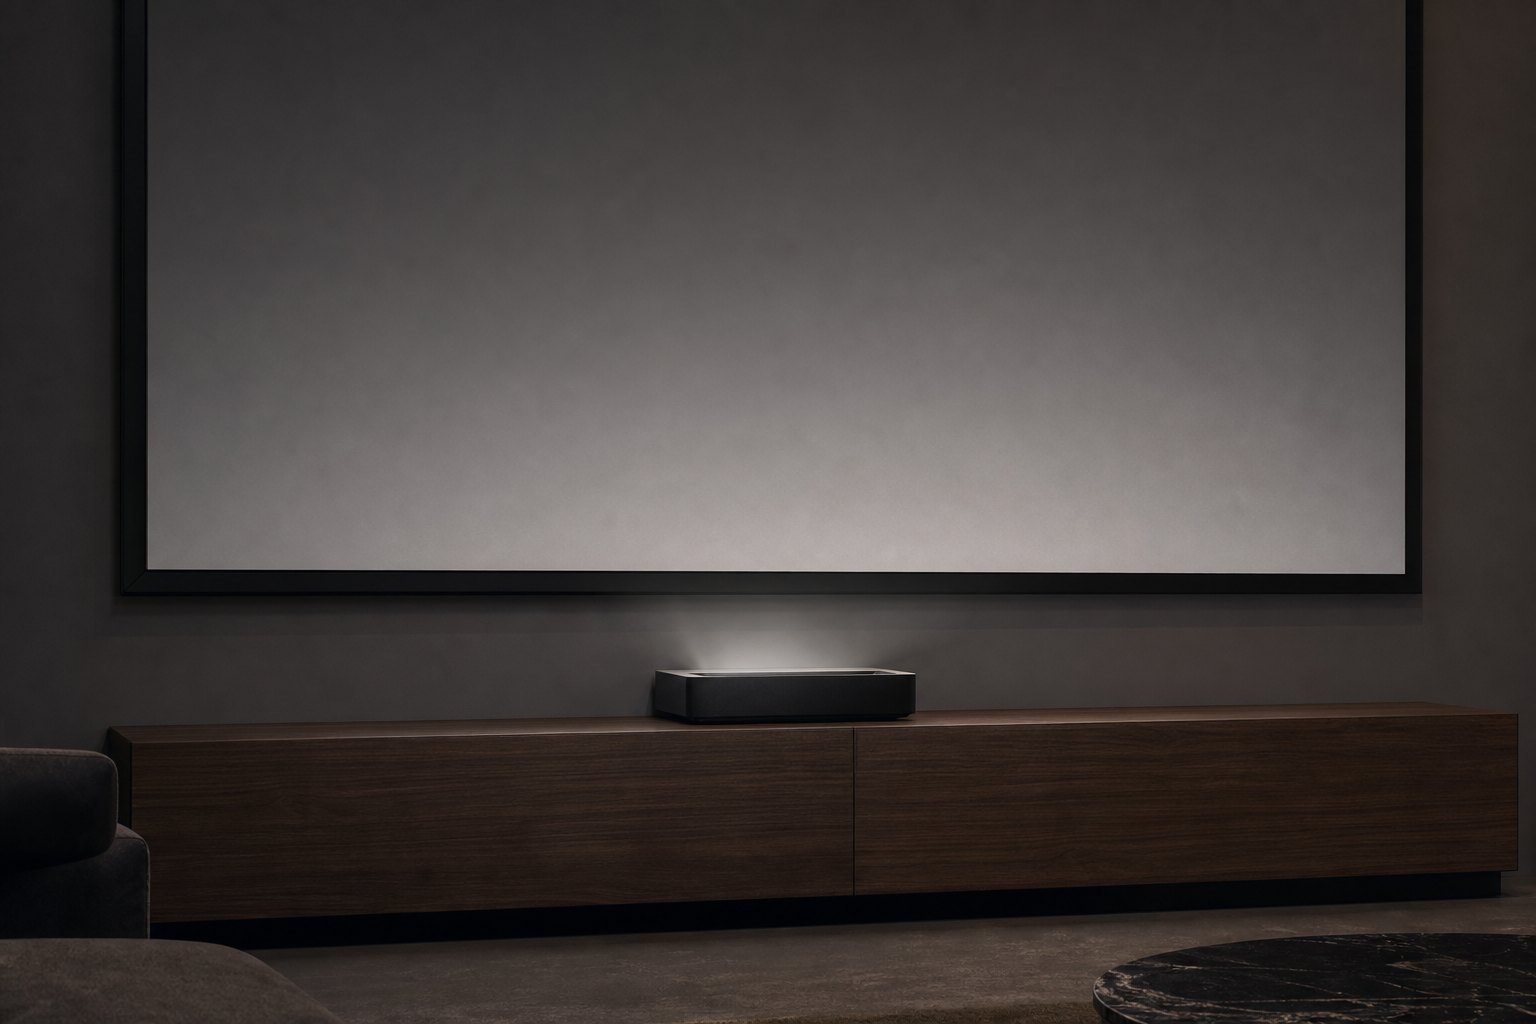
UST projectors have throw ratios well below 1 — often around 0.25:1 or lower — which means they sit on a cabinet directly beneath the screen and only a few centimetres from the wall. That changes the placement problem completely:
- Millimetres matter. Because the light hits the screen at an extreme angle, a small shift in position or height produces a visibly skewed or unfocused image. Plan on a stable, non-flexing cabinet.
- Screen flatness becomes critical. The same steep angle turns any ripple into a visible bright or dark band, so tab-tensioned or rigid surfaces are effectively mandatory.
- Screen material is not interchangeable. UST setups need ceiling-light-rejecting CLR material, which is engineered to accept light from below and reject light from above. ALR materials are the opposite case and belong with standard-throw projectors.
If UST is your direction, browse the screens built for ultra-short-throw projectors, or the roll-down option in the form of a manual tab-tensioned CLR5 screen if you would rather not commit wall space permanently. For a hands-on perspective, see our review of a UST-specific screen.
A Ten-Minute Planning Checklist
- Fix seating distance, then screen diagonal, then convert to image width.
- Compute throw distance at both ends of the projector’s zoom range.
- Check the vertical offset spec against your intended mounting height.
- Mark the position with painter’s tape before drilling anything.
- Align the projector square to the screen; use lens shift, not keystone.
- Confirm you can still reach the filter, lens and cables afterwards.
Conclusion
Projector placement is mostly arithmetic and a little discipline. Work out the throw distance from the image width you actually want, respect the offset spec, correct the last few centimetres optically rather than digitally, and choose a mounting method you can live with. Do that and you get the full resolution you paid for — sharp corners, straight edges, and a picture that stays right long after setup day.